

Please sign in so that we can notify you about a reply
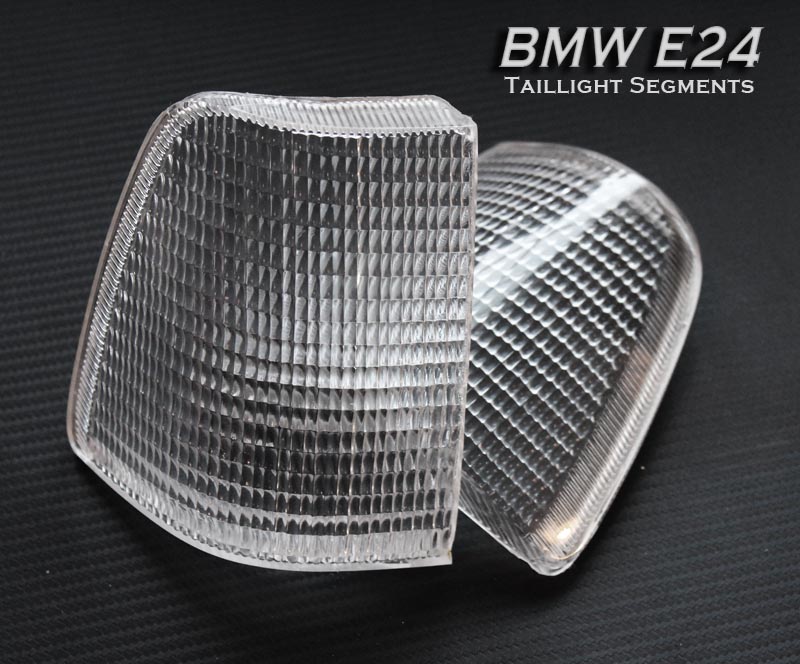
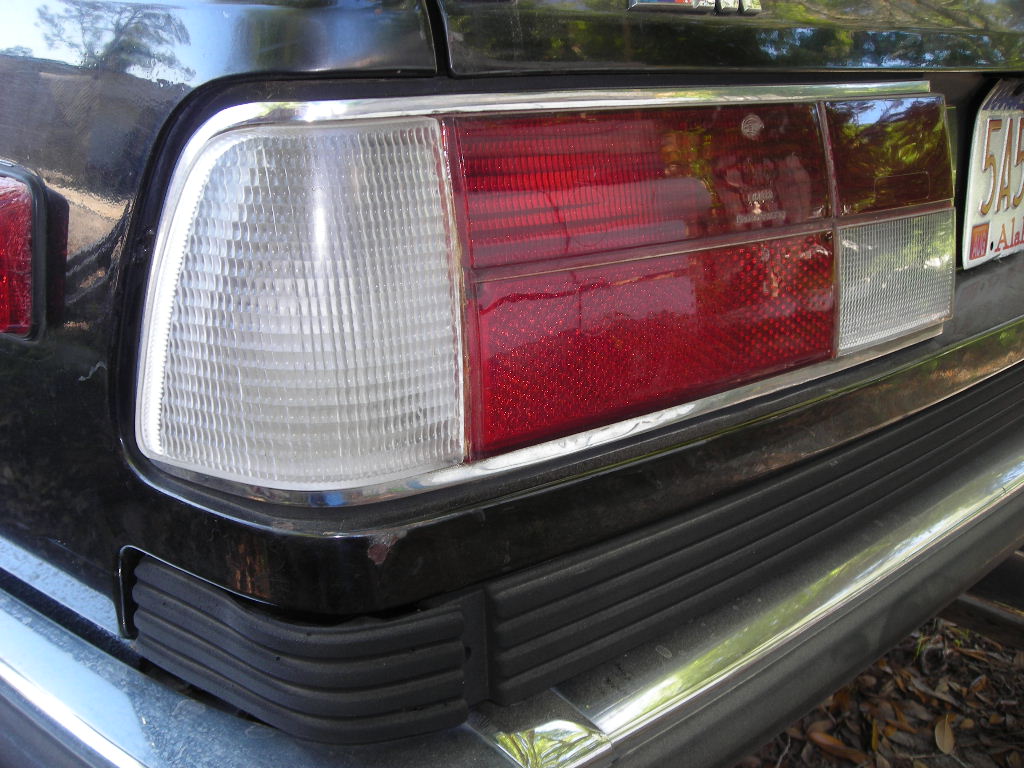
If your looking for an inexpensive upgrade, installing some clear tail light segments in place of the amber will give your tail lights a clean new look that will set you apart without having to replace the whole tail light.
If clear isn't your thing, we can do the segment in smoked, red or any other custom colors.
Installing the segments on your tail lights will require some DIY but it can be done in a day with minimal tools.
Also fits the following models:
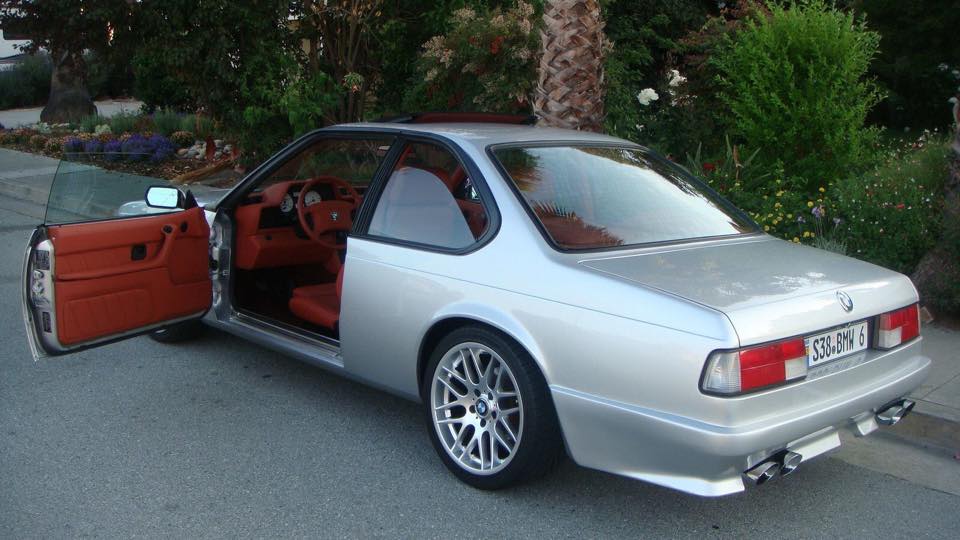
- 1980-1989 BMW 635
How To
You will have to remove the tail lights from your car, cut the amber section using a cutting tool such as a dremel, oscillating tool or even a bandsaw works pretty well. Clean both edges with a file or sandpaper. Then using some clear epoxy, bond the clear segment to your tail light. Let the epoxy cure and your ready to install the tail lights back on your car.
Here is a detailed how-to for other lenses but the method of bonding the lenses together should be helpful.
1. Test fit lenses using some type of shim to make them sit flush with each other. We used folded paper towels. Don't worry if the top or bottom are slightly misaligned, we'll straighten those once the middle is glued together.
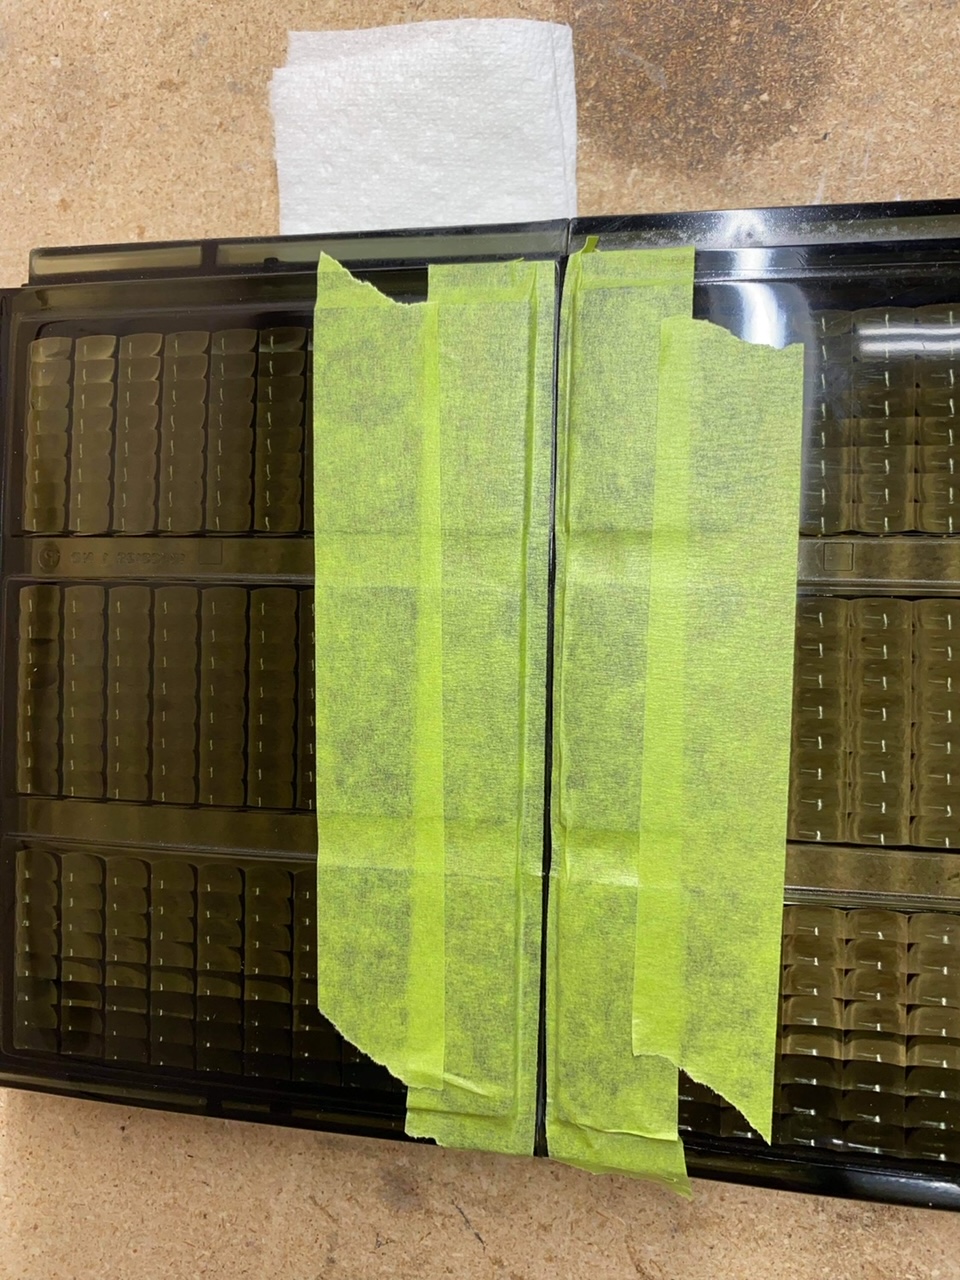
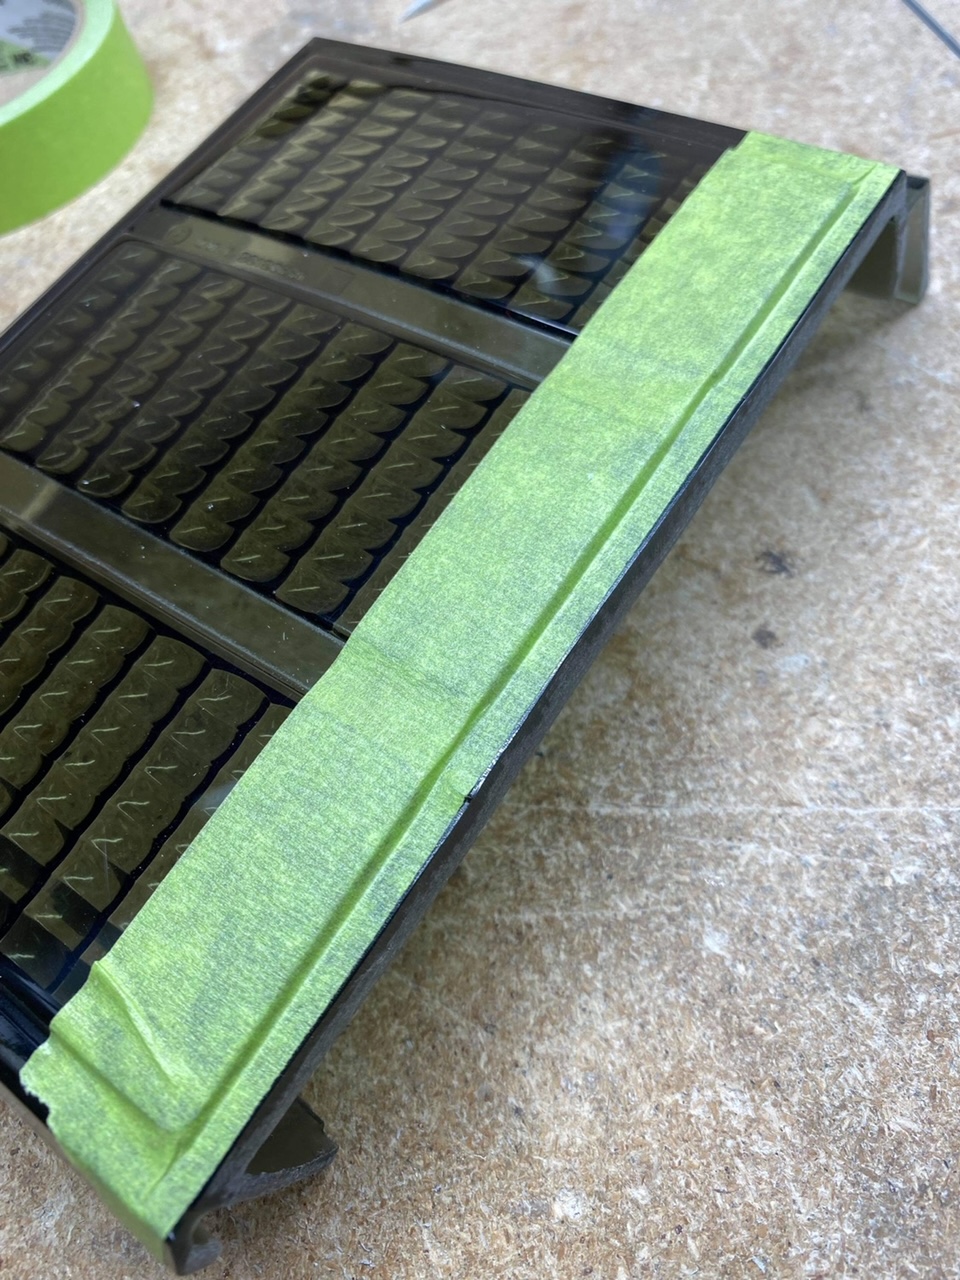
2. Cover the lenses with painters tape to protect them. We are used to assembly so we only covered close to the seam. We recommend you cover the whole surface. If the tape isn't sticking you can clean the surface with alcohol or use box tape. At this time, if the lenses don't make flush contact with each other, you can sand the high spot so you make good contact without big gaps.
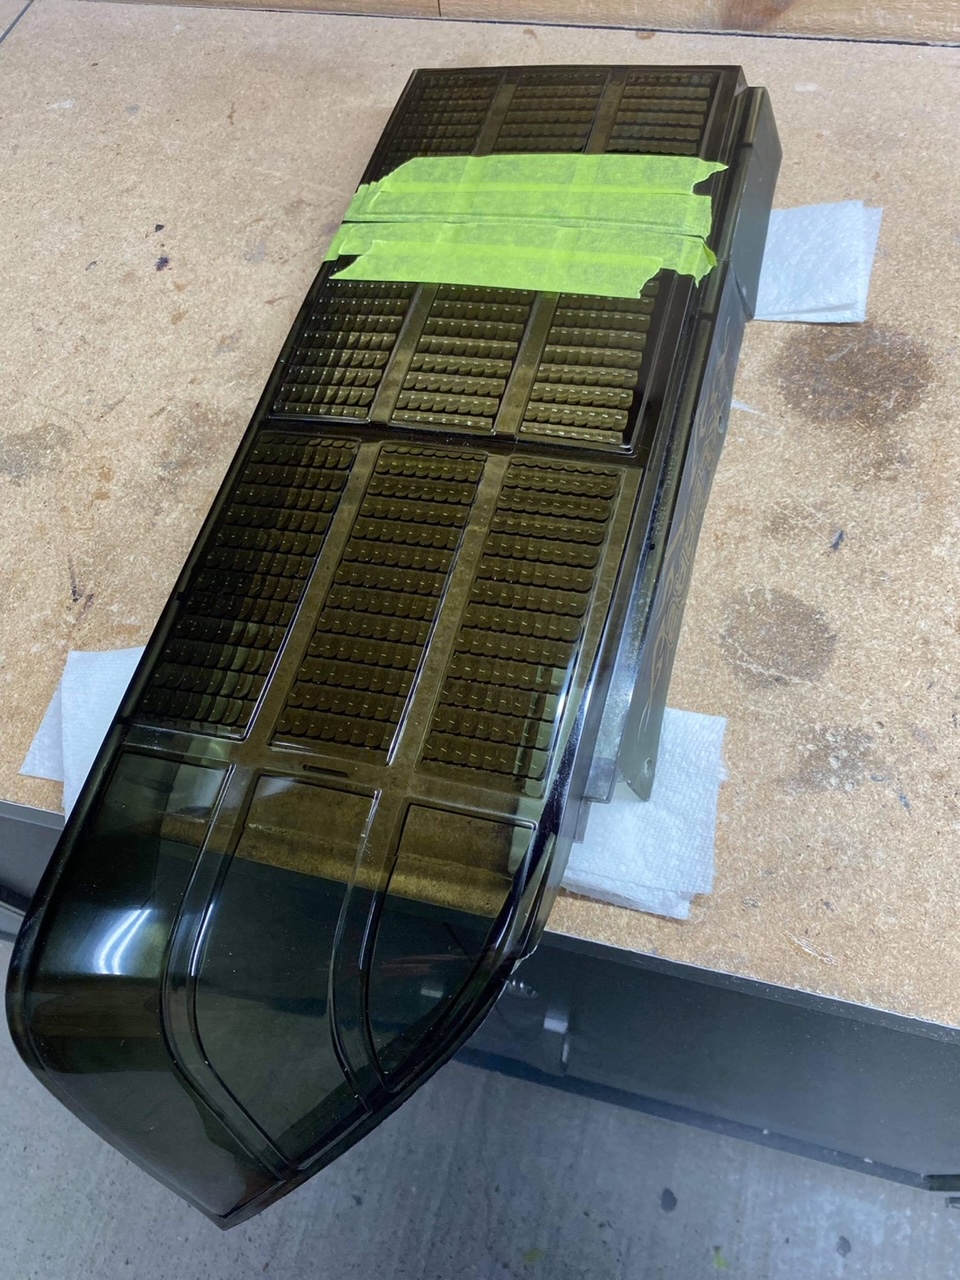
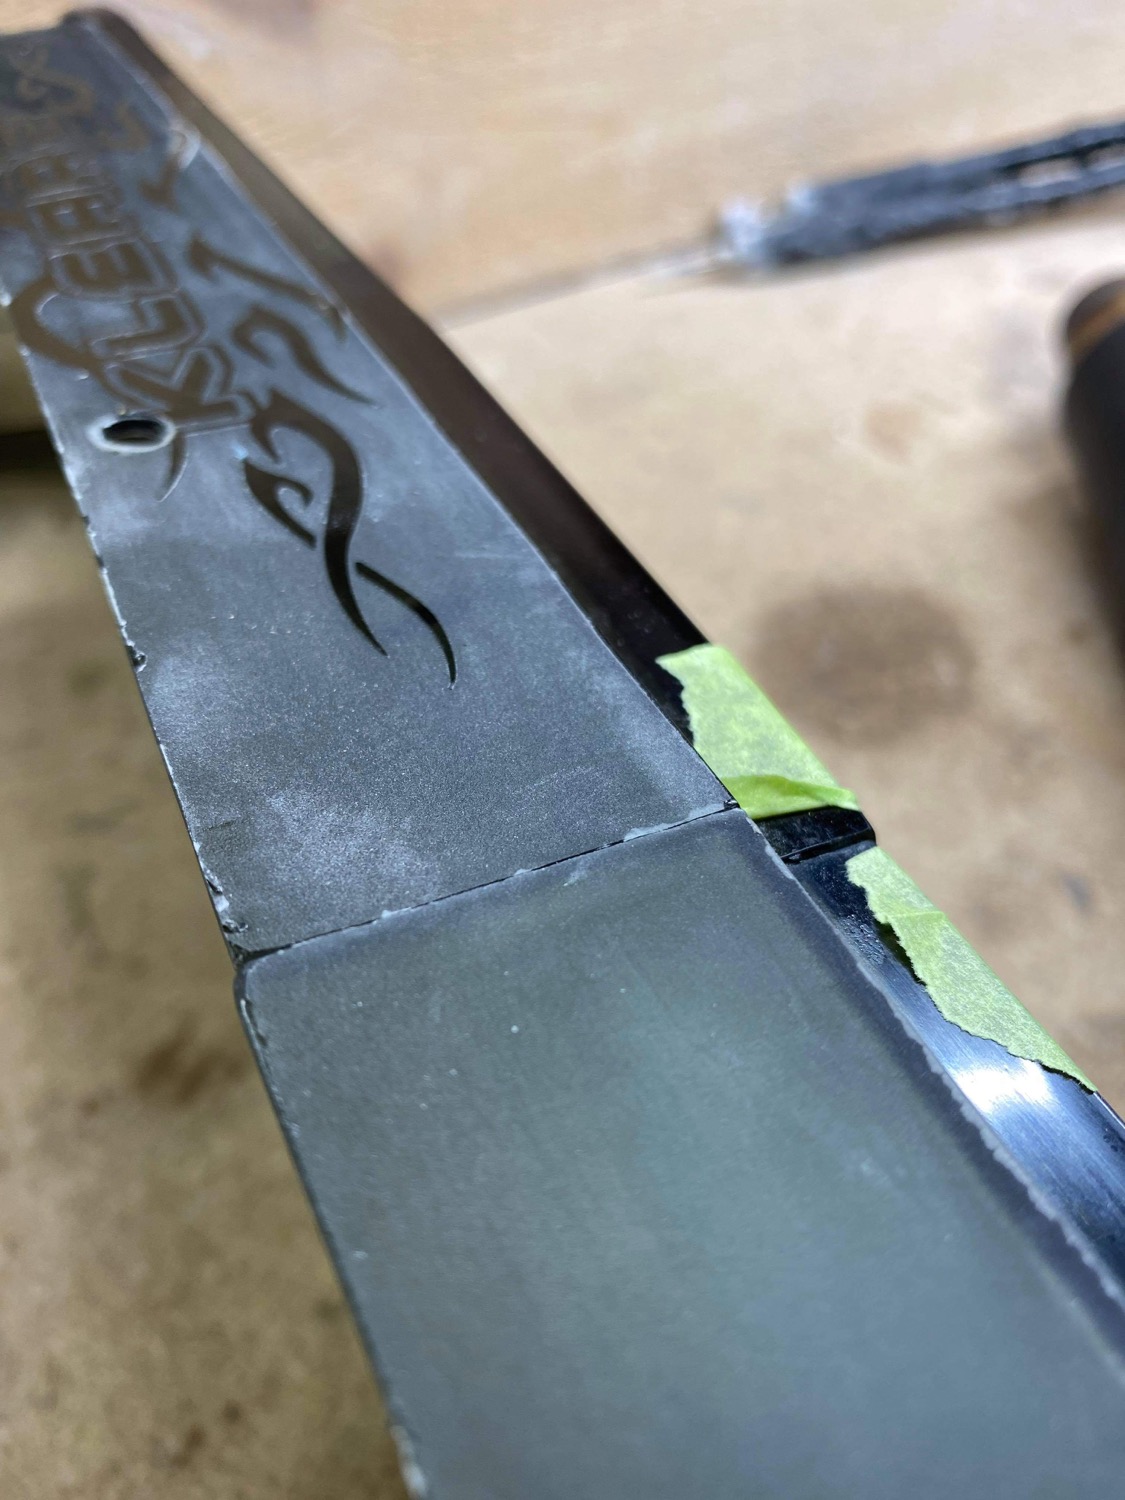
Apply the tape as close to the mating edge as possible.
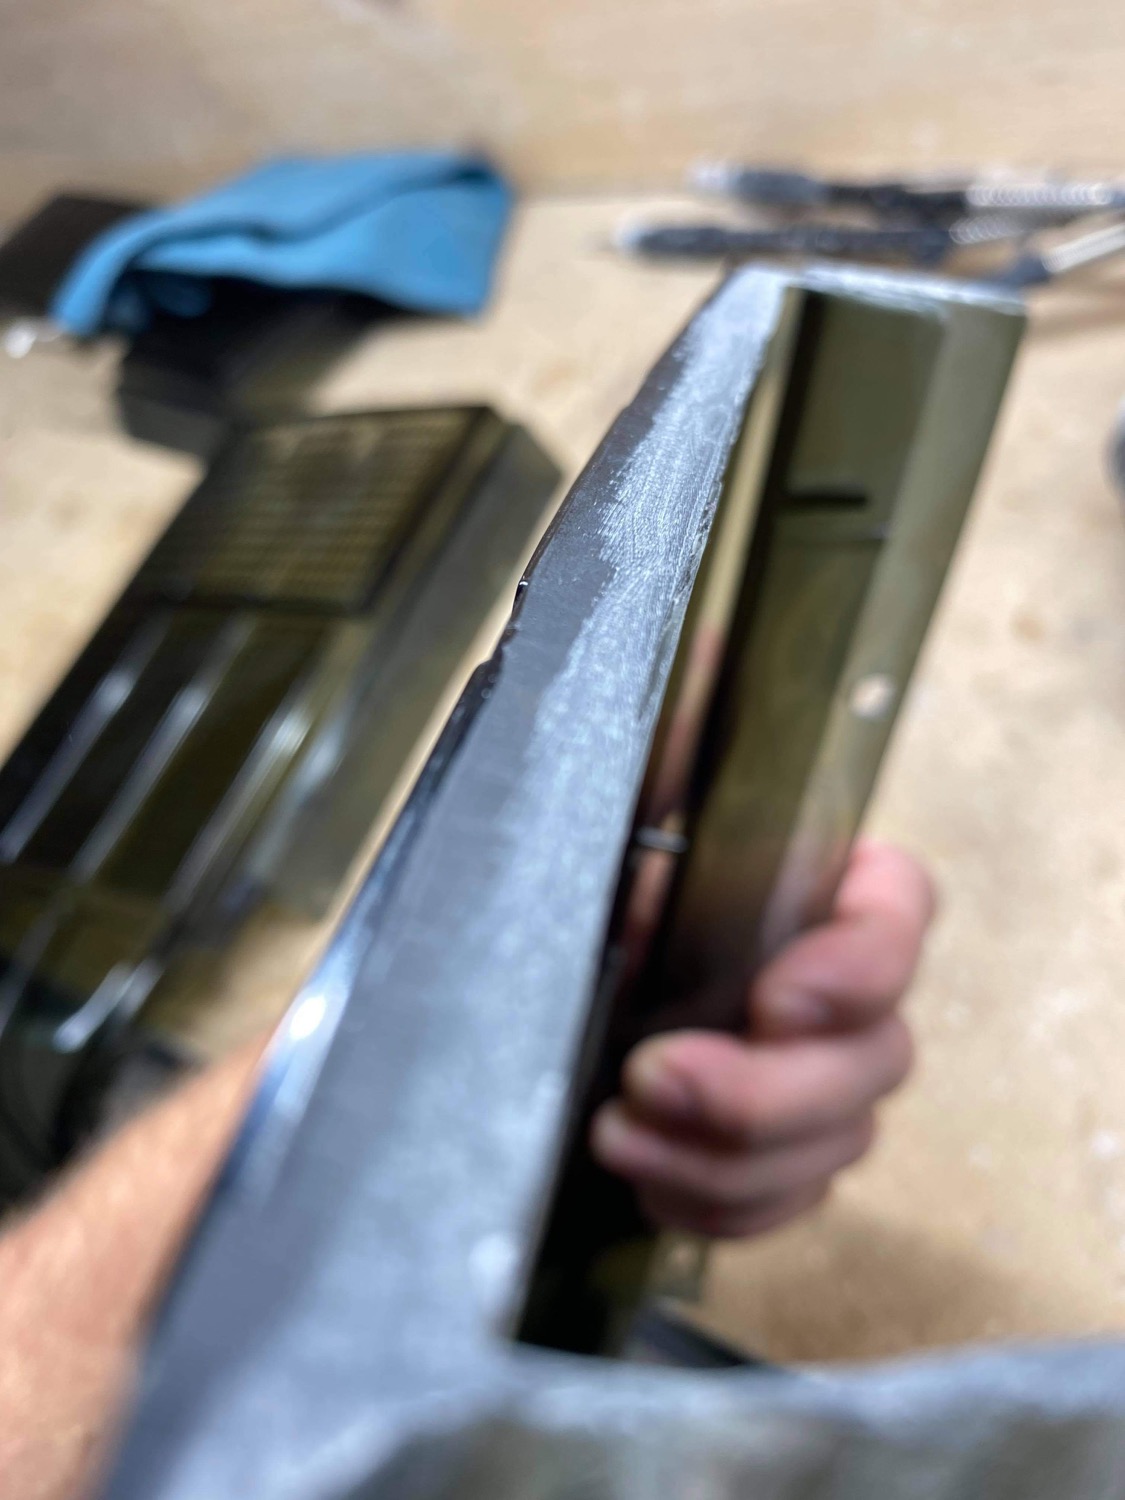
3. Sand both matting surfaces, sand at an angle so the edge closest to the surface of the lens is slightly thicker. In the picture below you can see the area with the coarse sanding marks is the area that has more material removed.
4. Apply a 2 part clear epoxy to the bottom of the edge. This is to make sure that epoxy does not overflow on the surface of the lenses. We tint our epoxy so that if it does flow up a bit, its not as noticeable. Don't put epoxy on the top or bottom tab at this point unless they are 100% aligned.
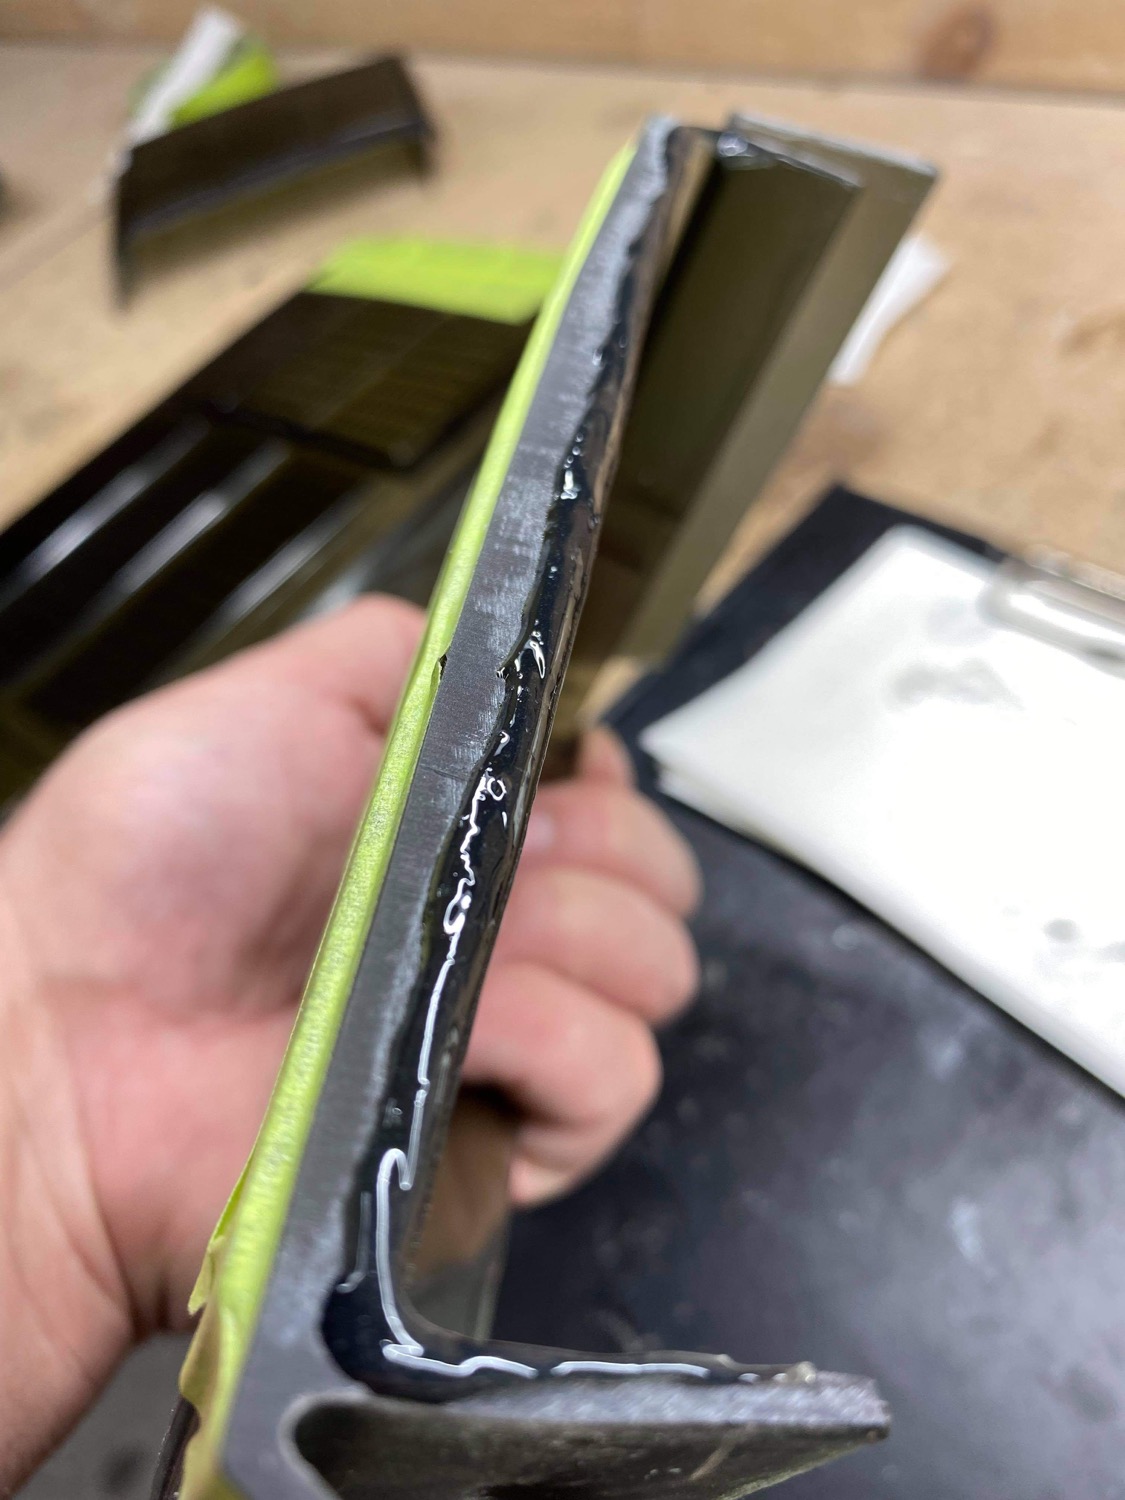
5. Press lenses together, align and hold together with some tape. Make sure to use the shims so the lenses sit flush to each other. At this time if epoxy comes up to the surface, it can be wiped away with a gloved finger. The tape will prevent the epoxy from coming in contact with the lens surface.
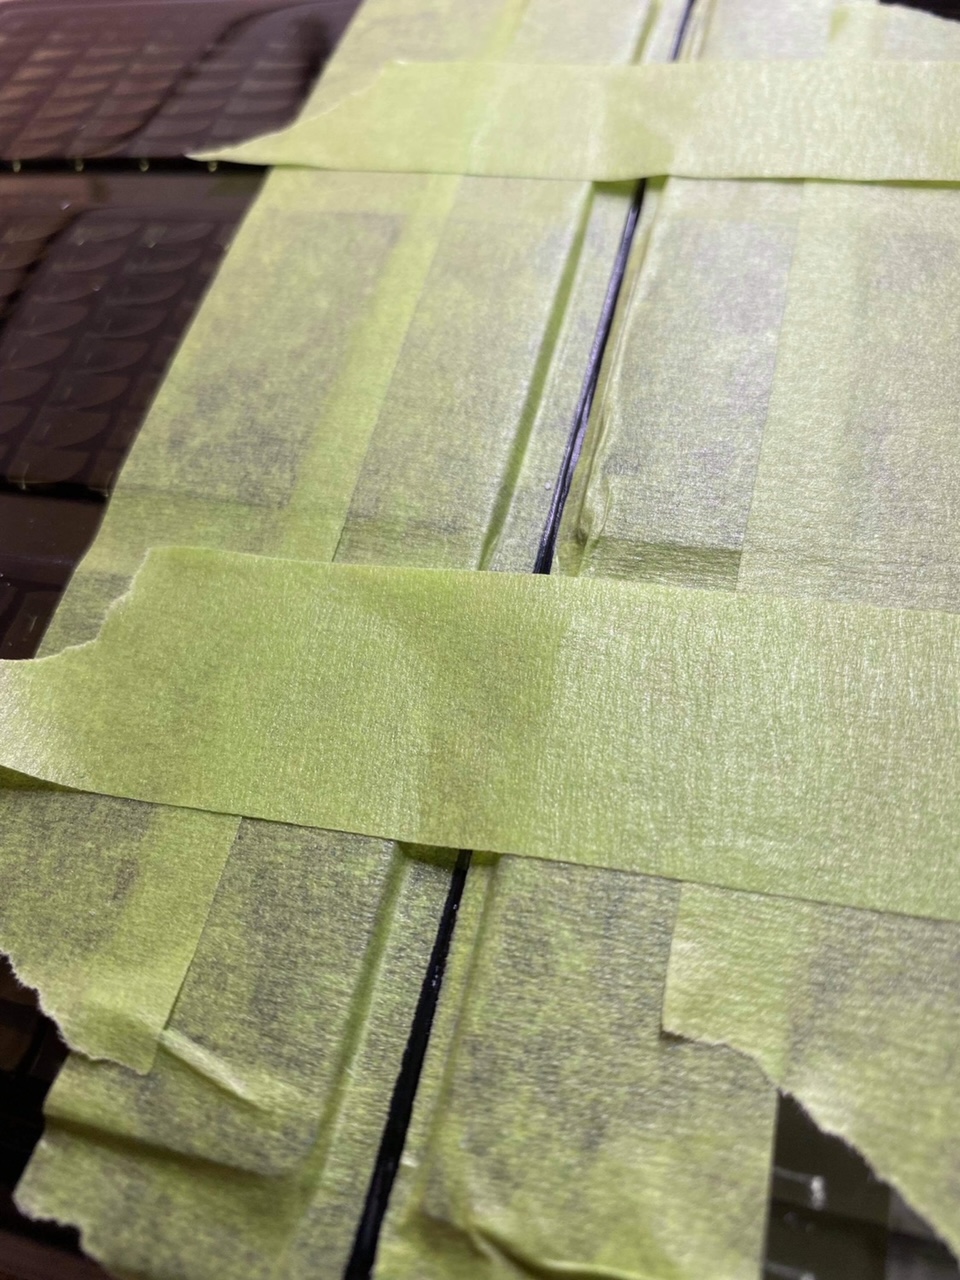
Once cured, remove the tape
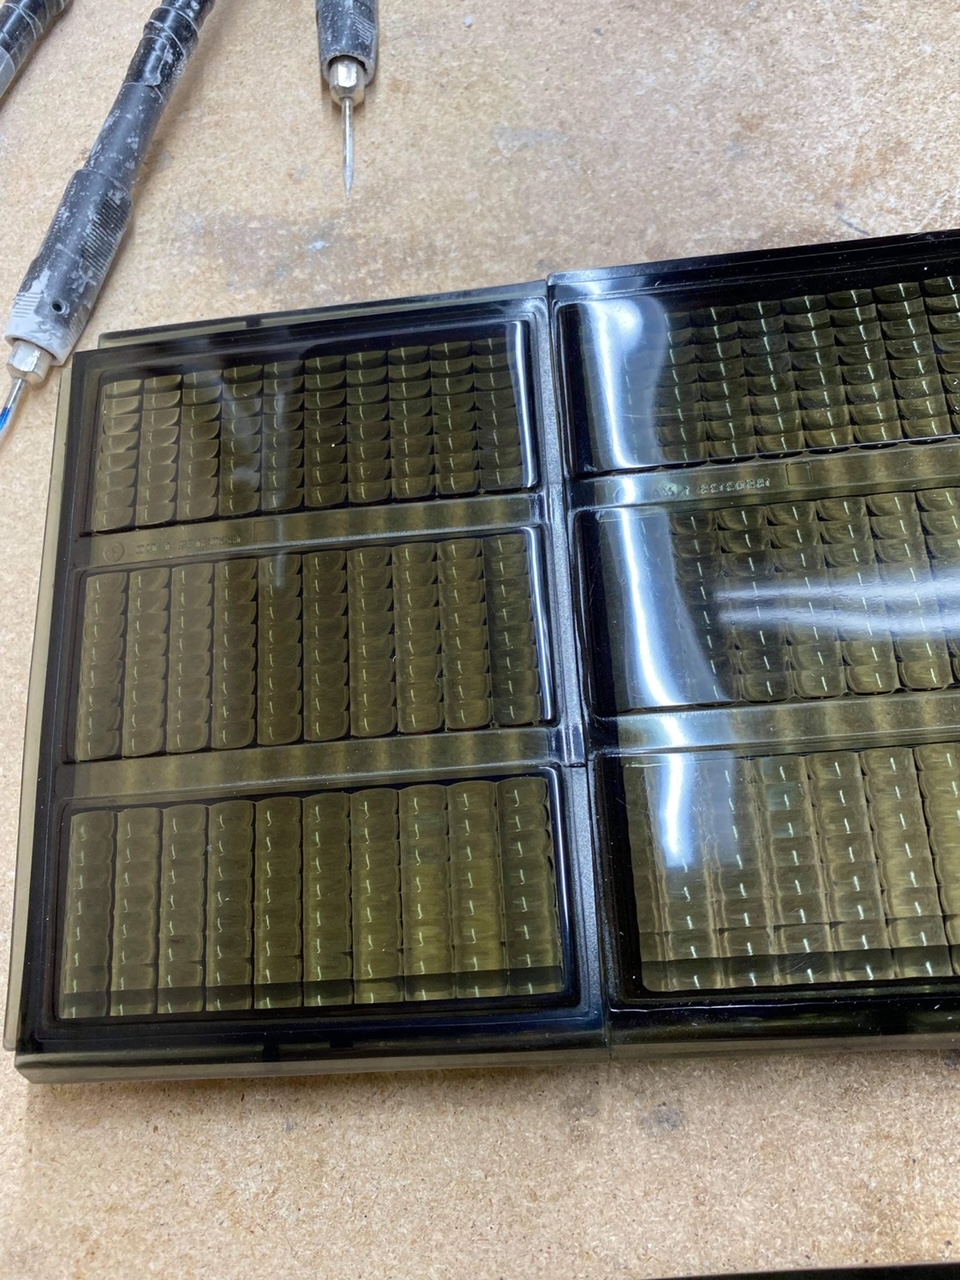
At this time if the top or bottom edge are slightly misaligned, use a heat gun to warm up the area and you'll be able to reshape the lenses to get a perfect alignment. Once the lenses are cooled, they will keep this shape.
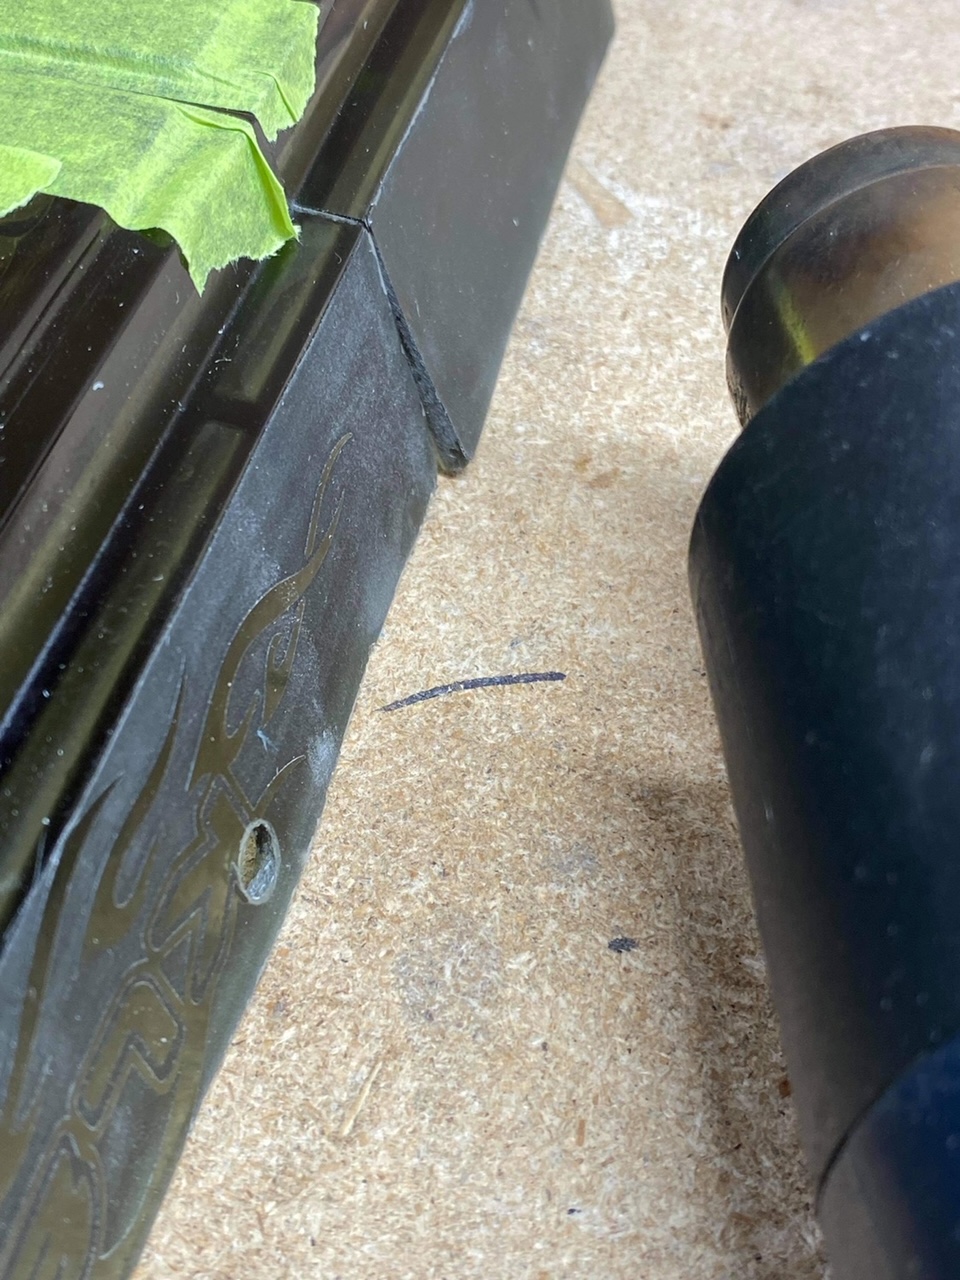
Once the top is perfectly aligned, apply tape to the surface to cover the seam and apply epoxy on the back of the seam. The tape will prevent the epoxy from reaching the surface leaving a clean edge.