






Please sign in so that we can notify you about a reply
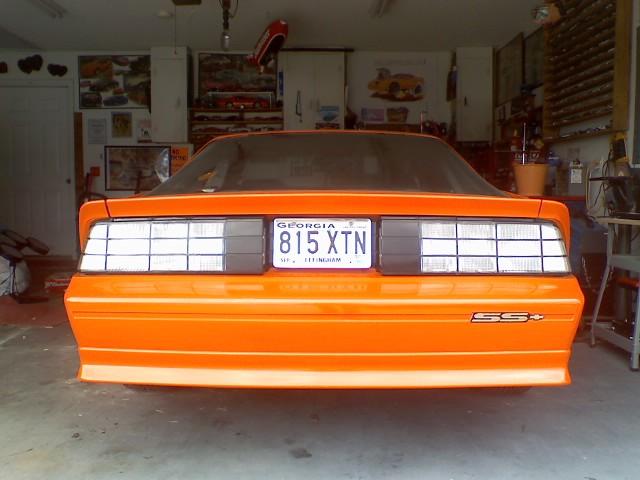
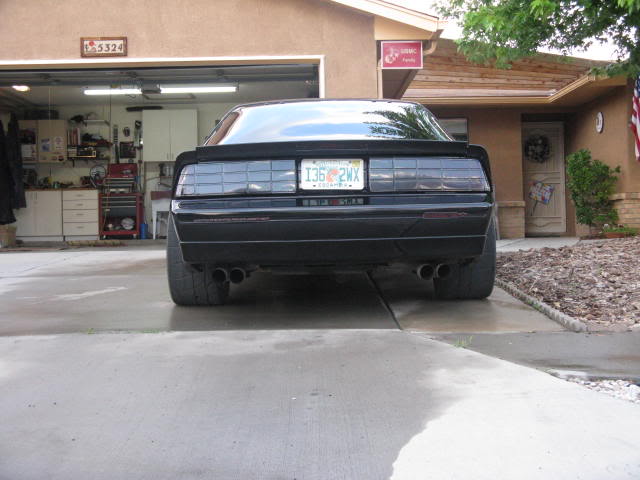
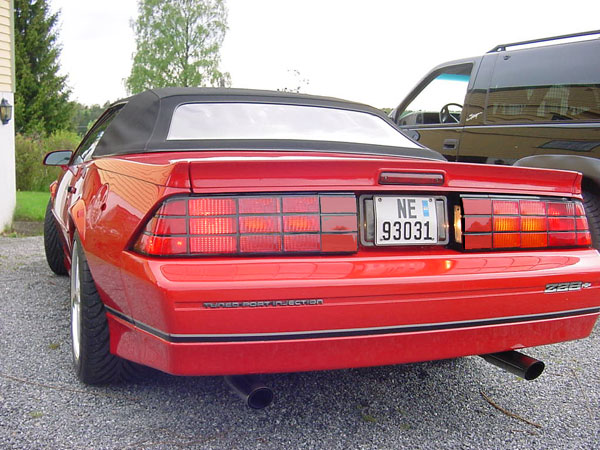
Clear tail lights are an easy inexpensive way to upgrade the look of your car.
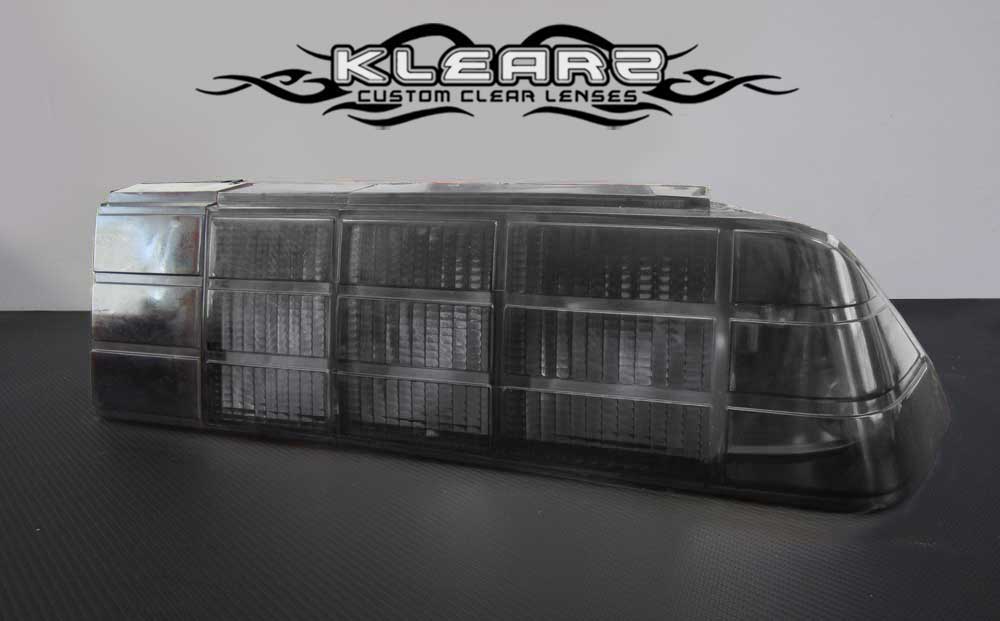
If clear isn't your thing, we have a few color combinations available. Note that the red color is slightly smoked therefor a bit darker then the OEM red.
Our lenses are an exact duplicate of the OEM so they fit great and provide a clean OEM look.
Note that we sell the lenses only and they will need to be installed on your oem housings, here are some tips on removing the oem tail lights and installing our lenses.
Our lenses come in 2 section, the corner with 2 'panels', the reverse is a separate lens that needs to be glued on first before installing on the housings. We offer to assemble the reverse lens for 25$. If you would like to assemble them yourself, select no and see this installation guide
You will have to transfer the inner clear reflector lenses from your oem housing as well as the black end piece.
1. Test fit lenses using some type of shim to make them sit flush with each other. We used folded paper towels. Don't worry if the top or bottom are slightly misaligned, we'll straighten those once the middle is glued together.
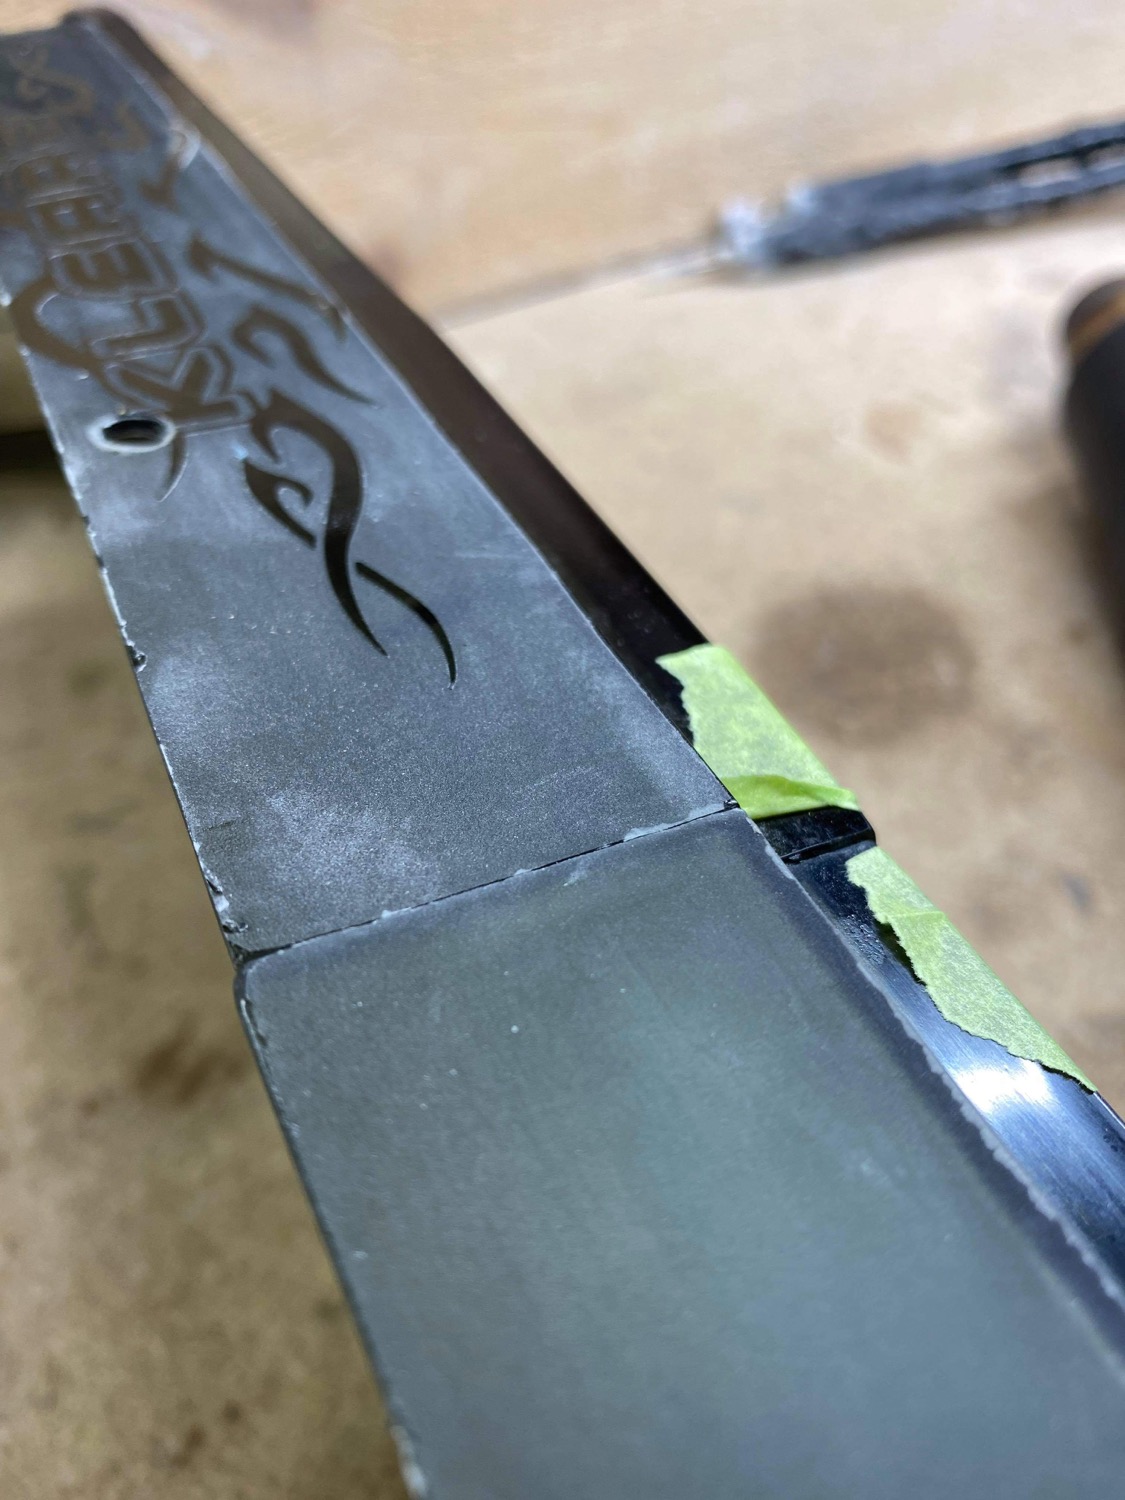
2. Cover the lenses with painters tape to protect them. We are used to assembly so we only covered close to the seam. We recommend you cover the whole surface. If the tape isn't sticking you can clean the surface with alcohol or use box tape. At this time, if the lenses don't make flush contact with each other, you can sand the high spot so you make good contact without big gaps.
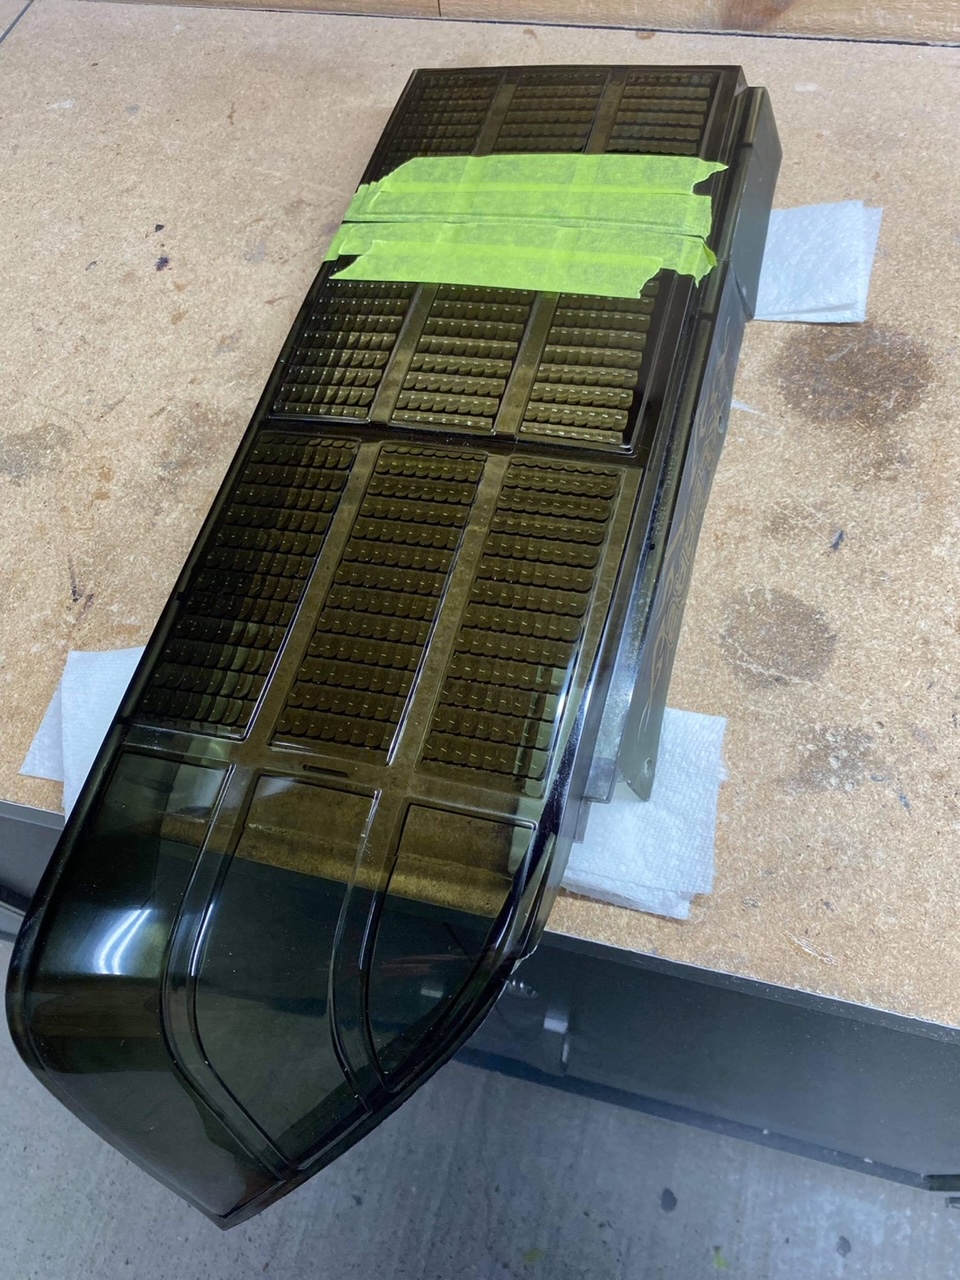
Apply the tape as close to the mating edge as possible.
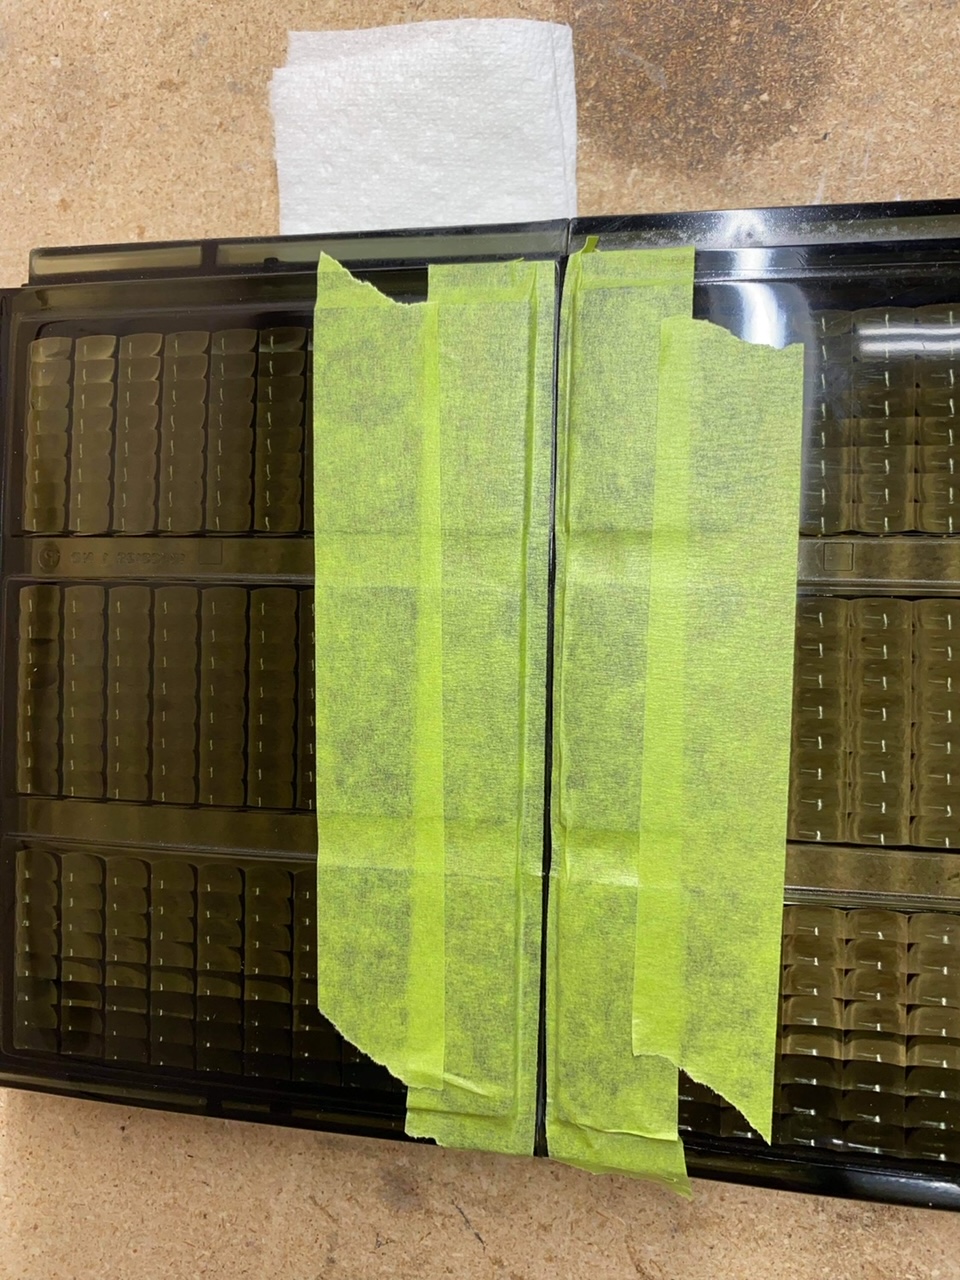
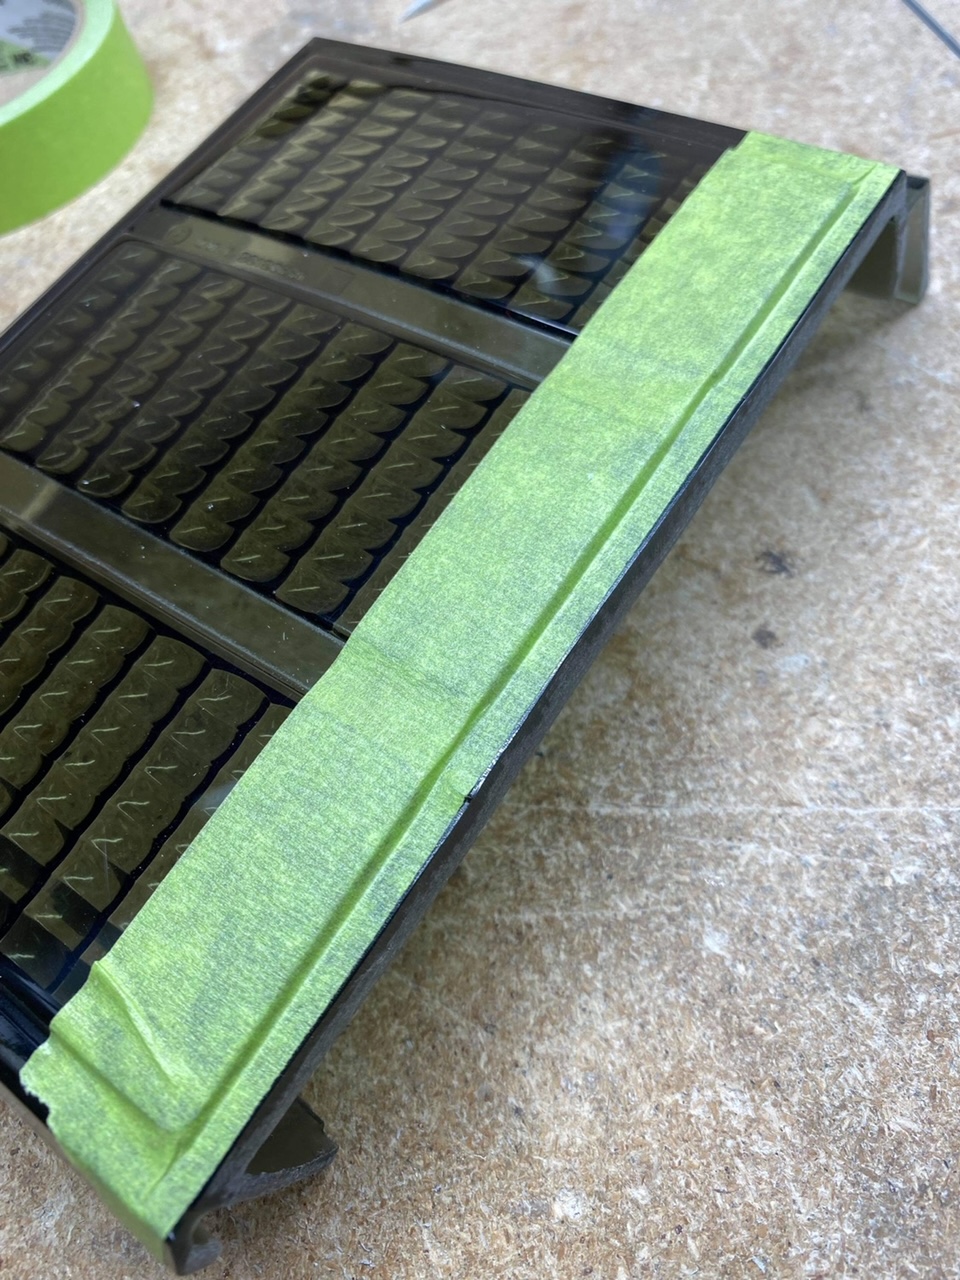
3. Sand both matting surfaces, sand at an angle so the edge closest to the surface of the lens is slightly thicker. In the picture below you can see the area with the coarse sanding marks is the area that has more material removed.
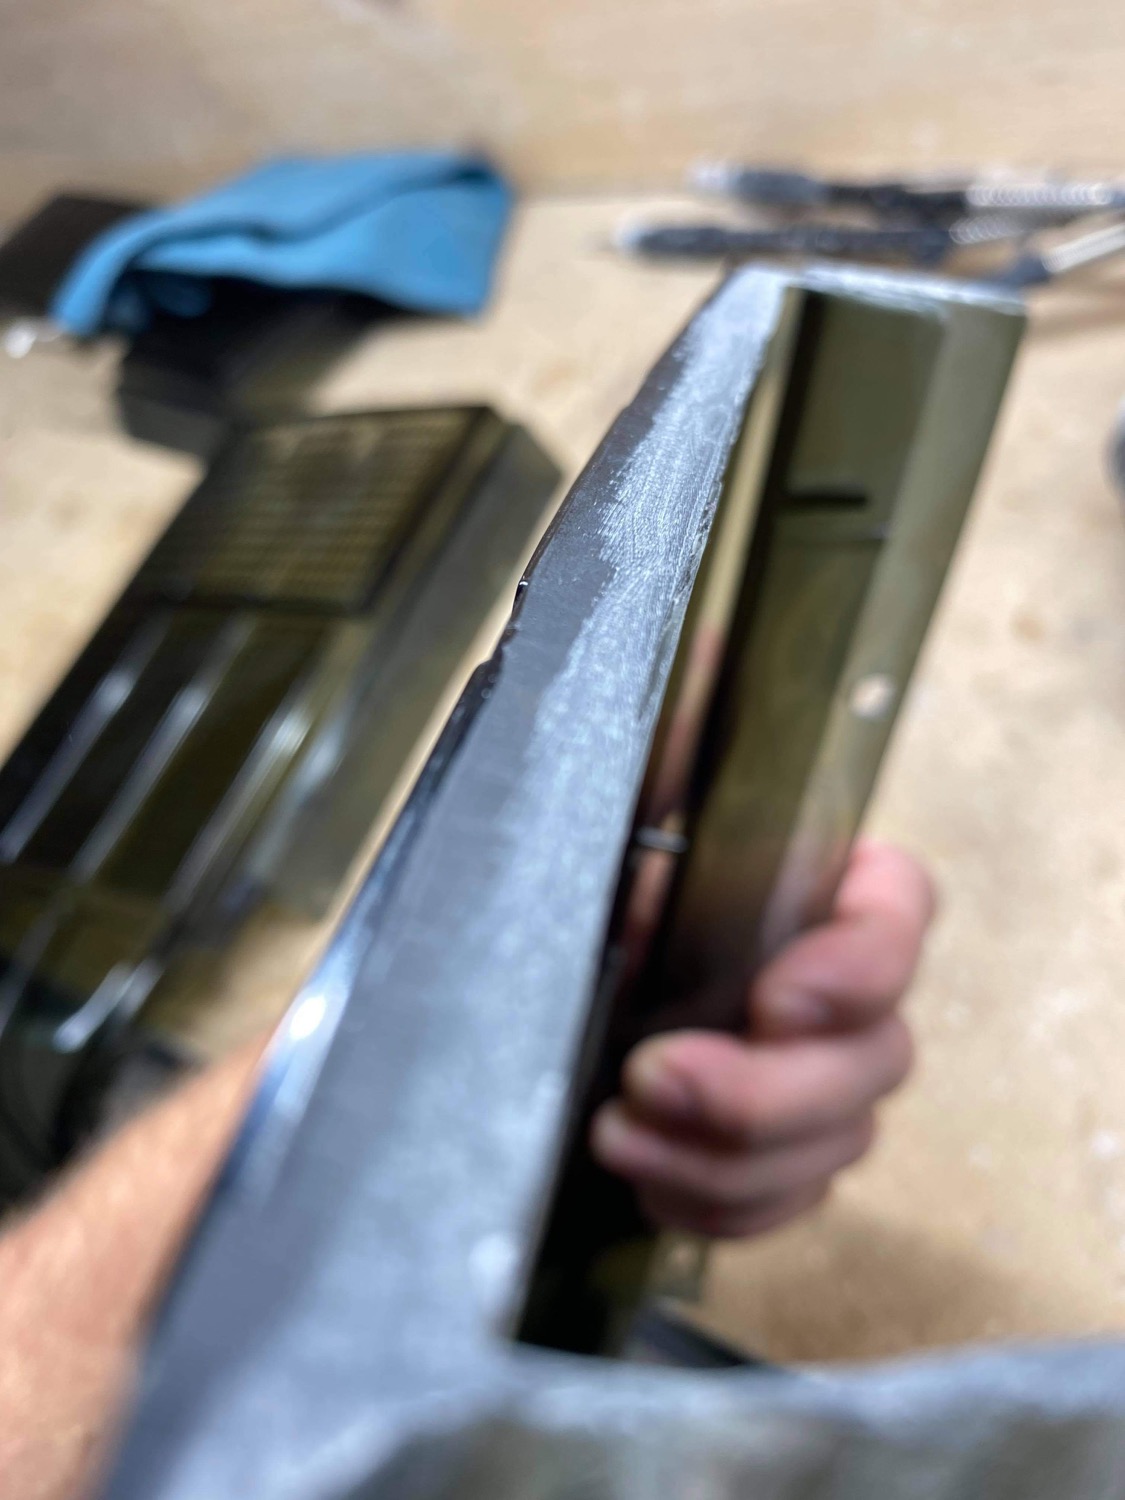
4. Apply a 2 part clear epoxy to the bottom of the edge. This is to make sure that epoxy does not overflow on the surface of the lenses. We tint our epoxy so that if it does flow up a bit, its not as noticeable. Don't put epoxy on the top or bottom tab at this point unless they are 100% aligned.
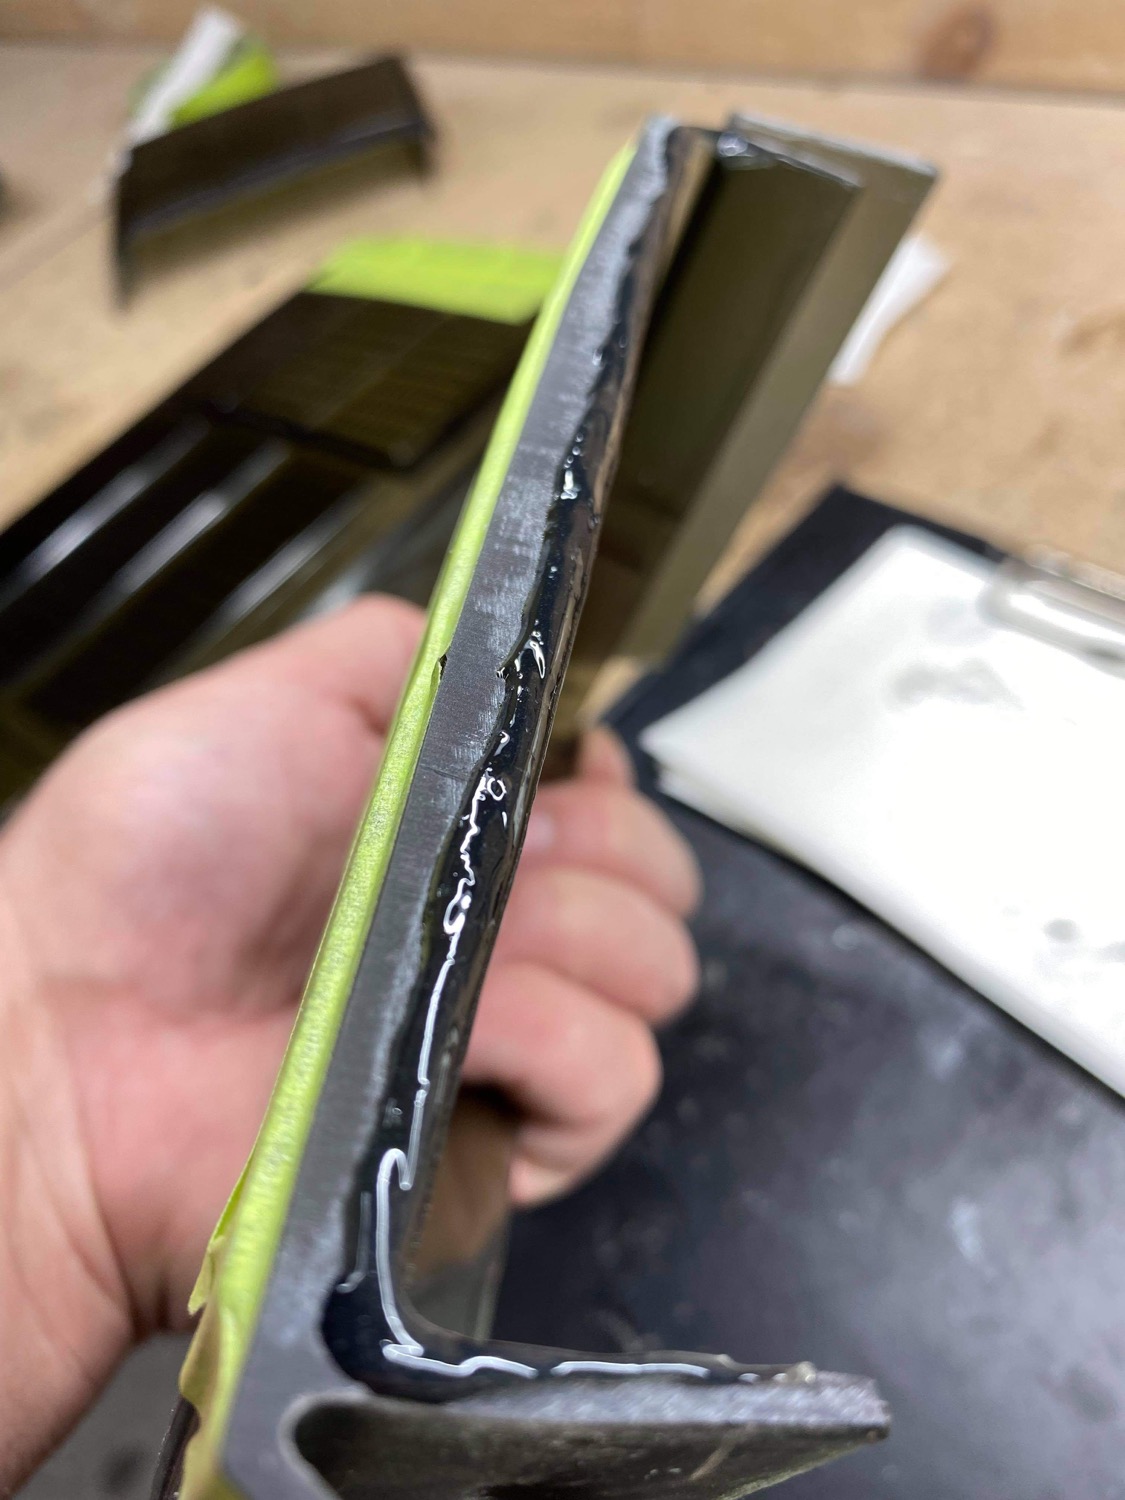
5. Press lenses together, align and hold together with some tape. Make sure to use the shims so the lenses sit flush to each other. At this time if epoxy comes up to the surface, it can be wiped away with a gloved finger. The tape will prevent the epoxy from coming in contact with the lens surface.
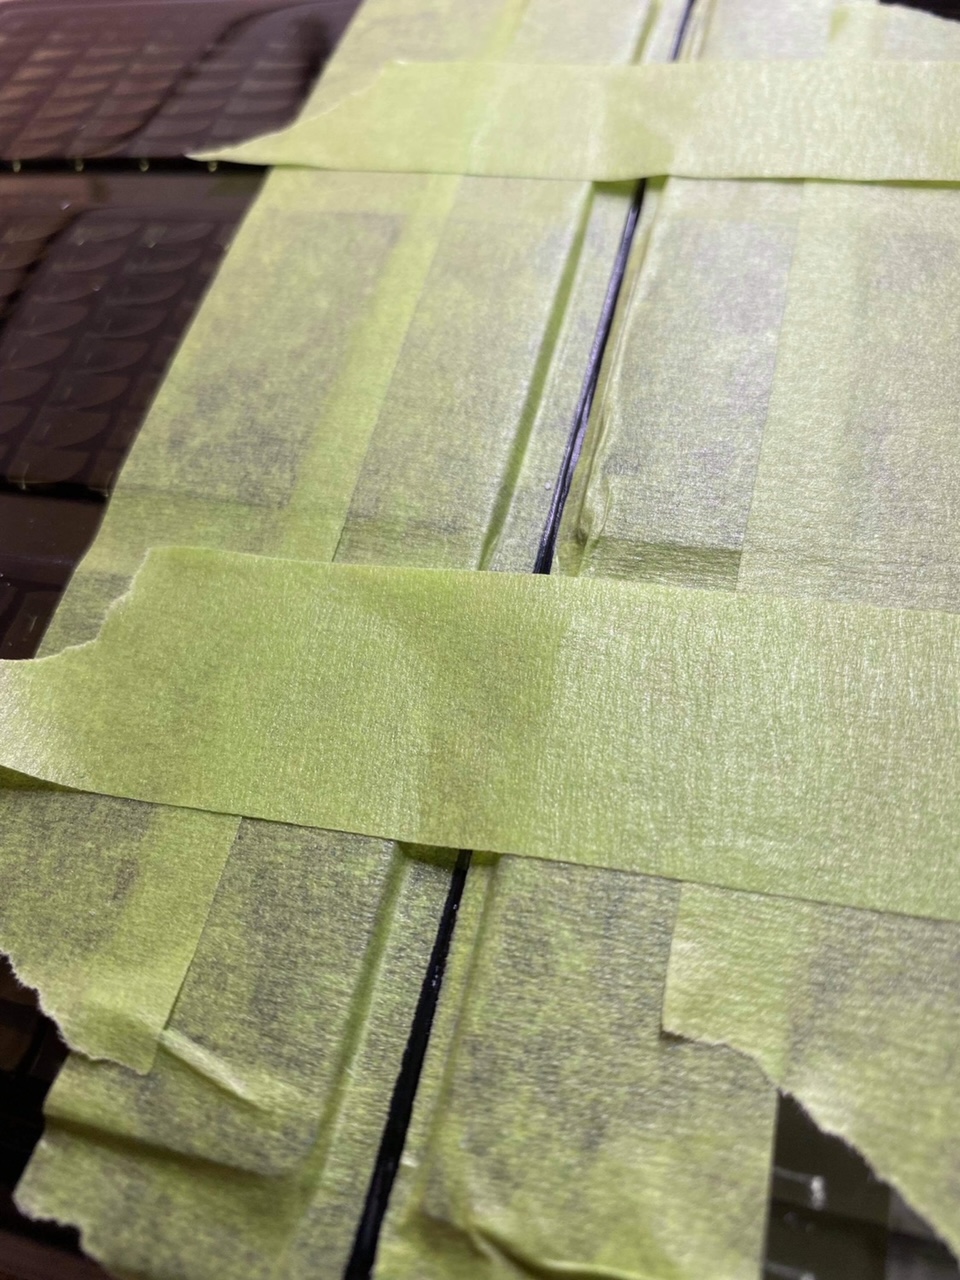
Once cured, remove the tape
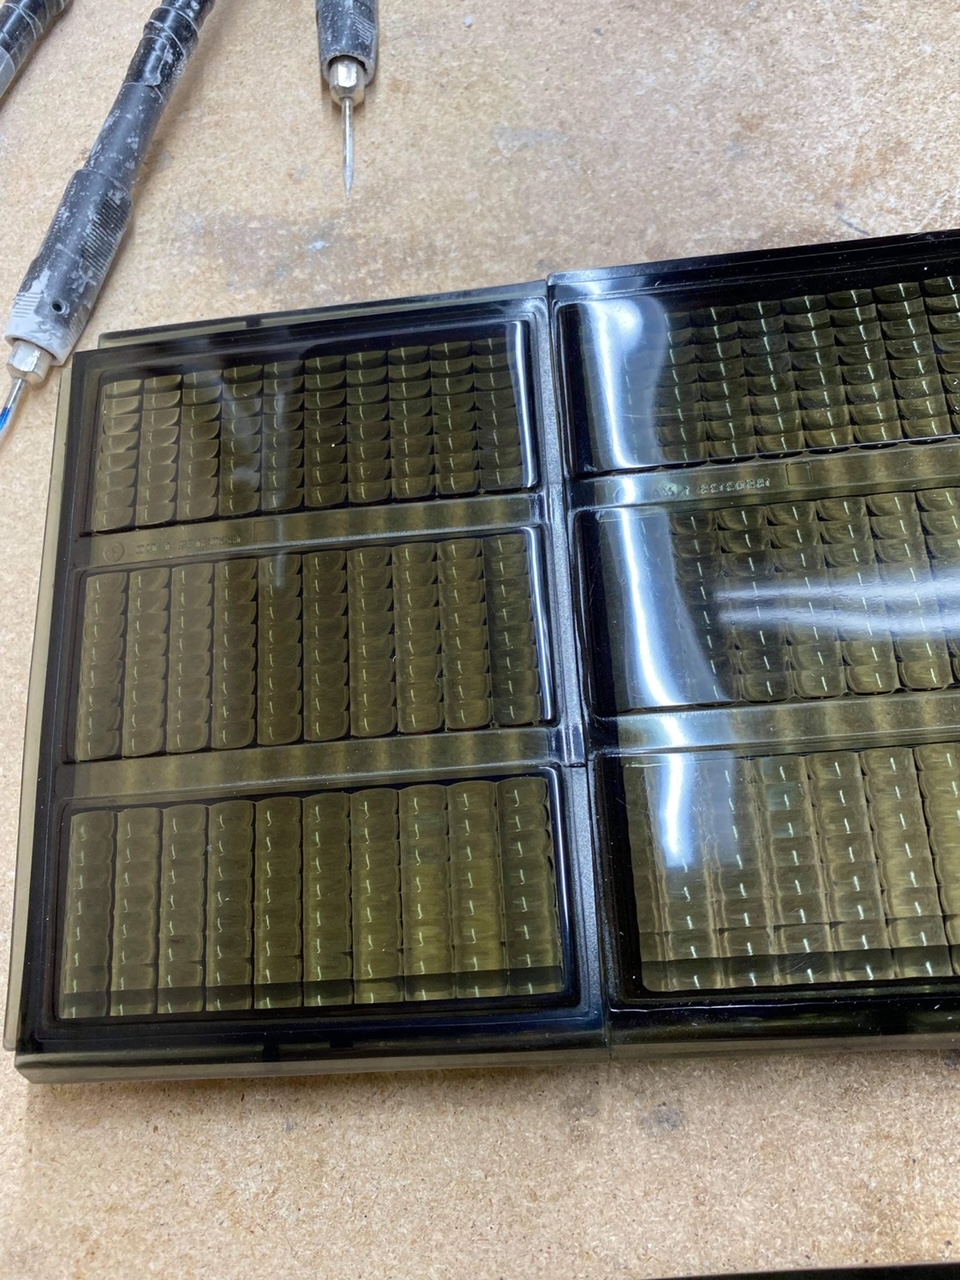
At this time if the top or bottom edge are slightly misaligned, use a heat gun to warm up the area and you'll be able to reshape the lenses to get a perfect alignment. Once the lenses are cooled, they will keep this shape.
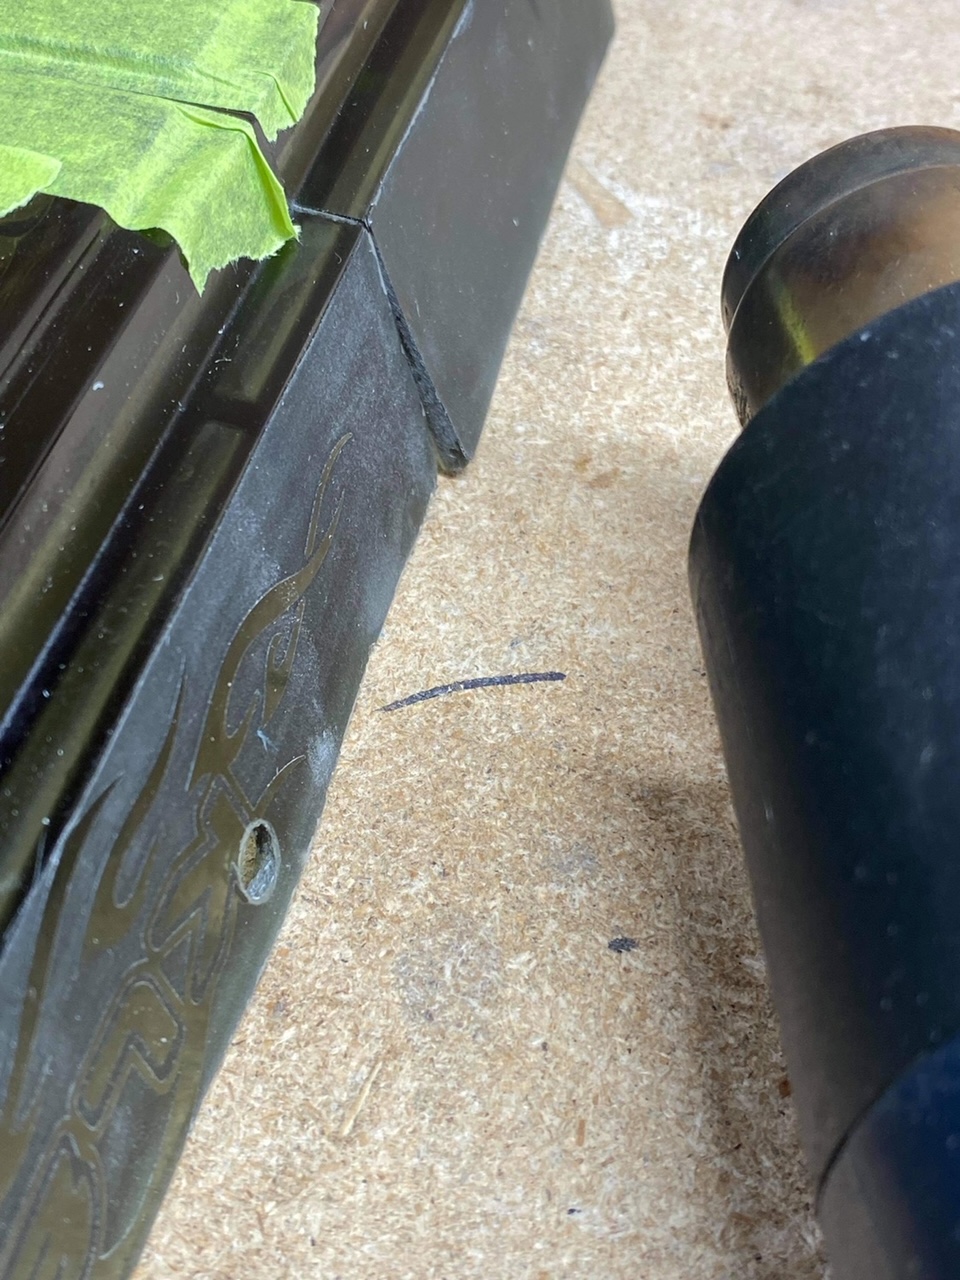
Once the top is perfectly aligned, apply tape to the surface to cover the seam and apply epoxy on the back of the seam. The tape will prevent the epoxy from reaching the surface leaving a clean edge.
This is a project that can be done by most DIYers but if it looks too complicated, make sure to select the 'assembled' option on the order page and the lenses will come pre assembled, all you need to do is install them in your oem housings.